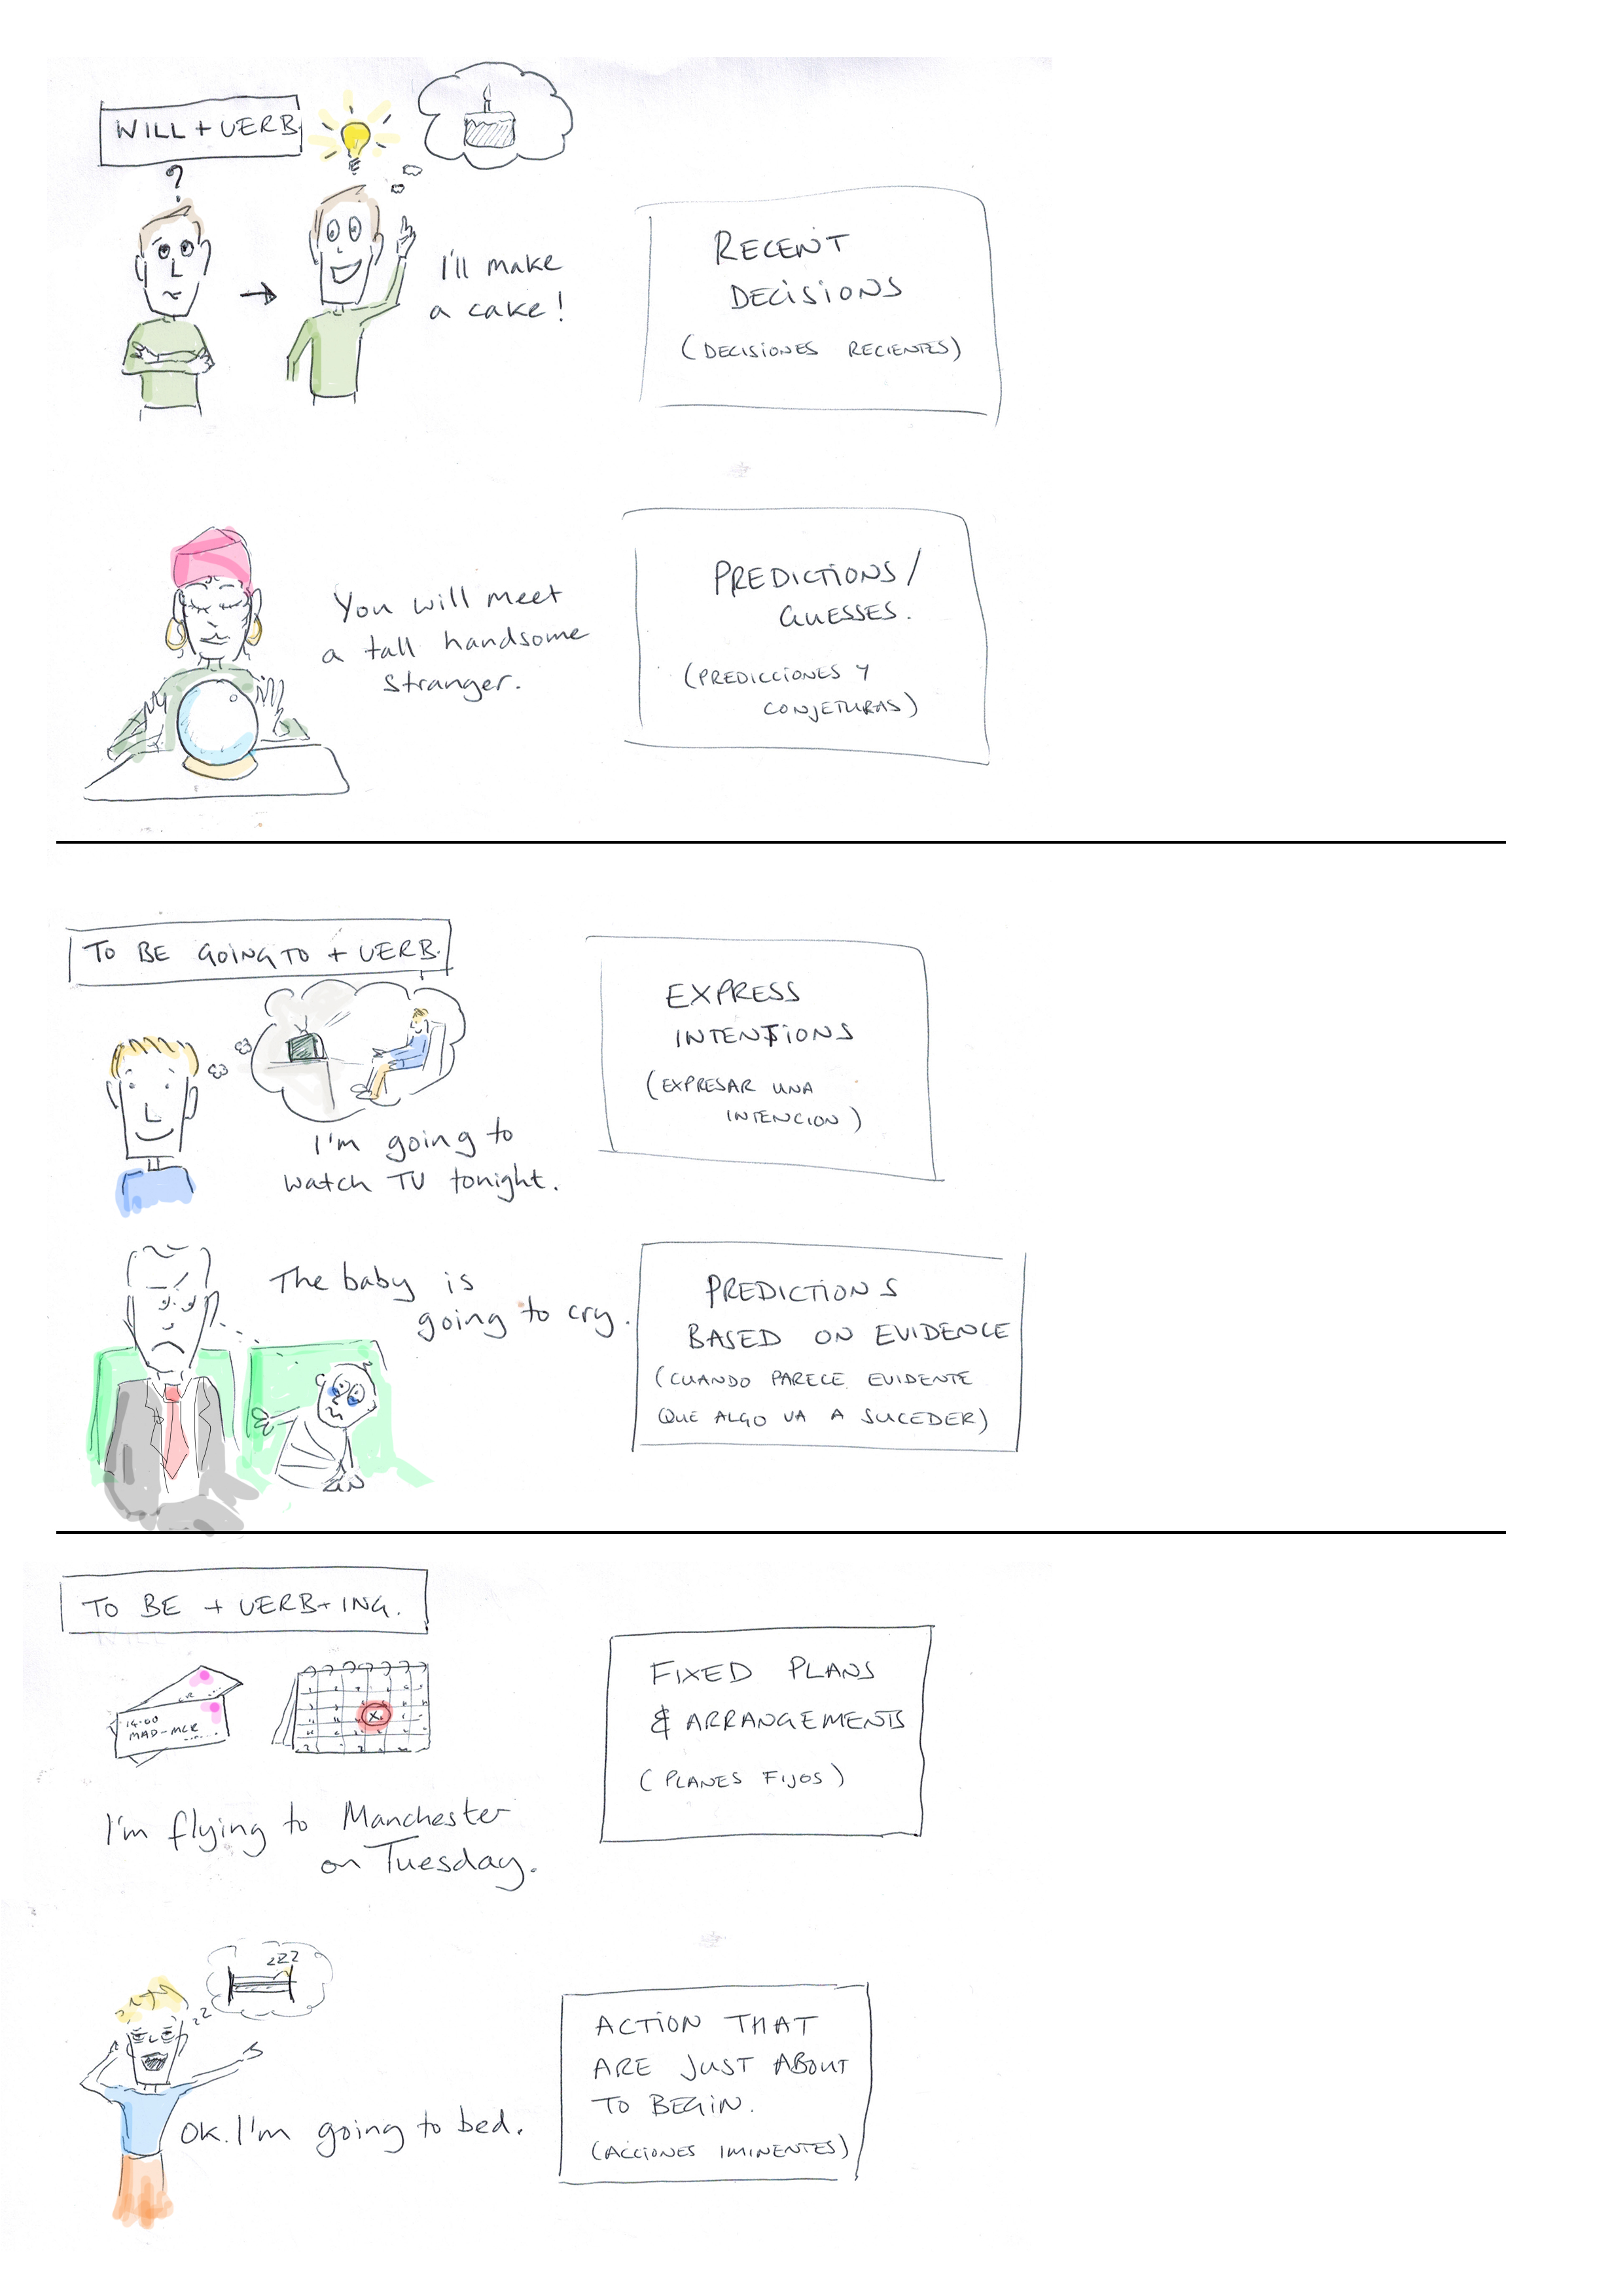
Lesson aims: Revision of how and when to use more/most and -er/-est when constructing comparative and superlative sentences.
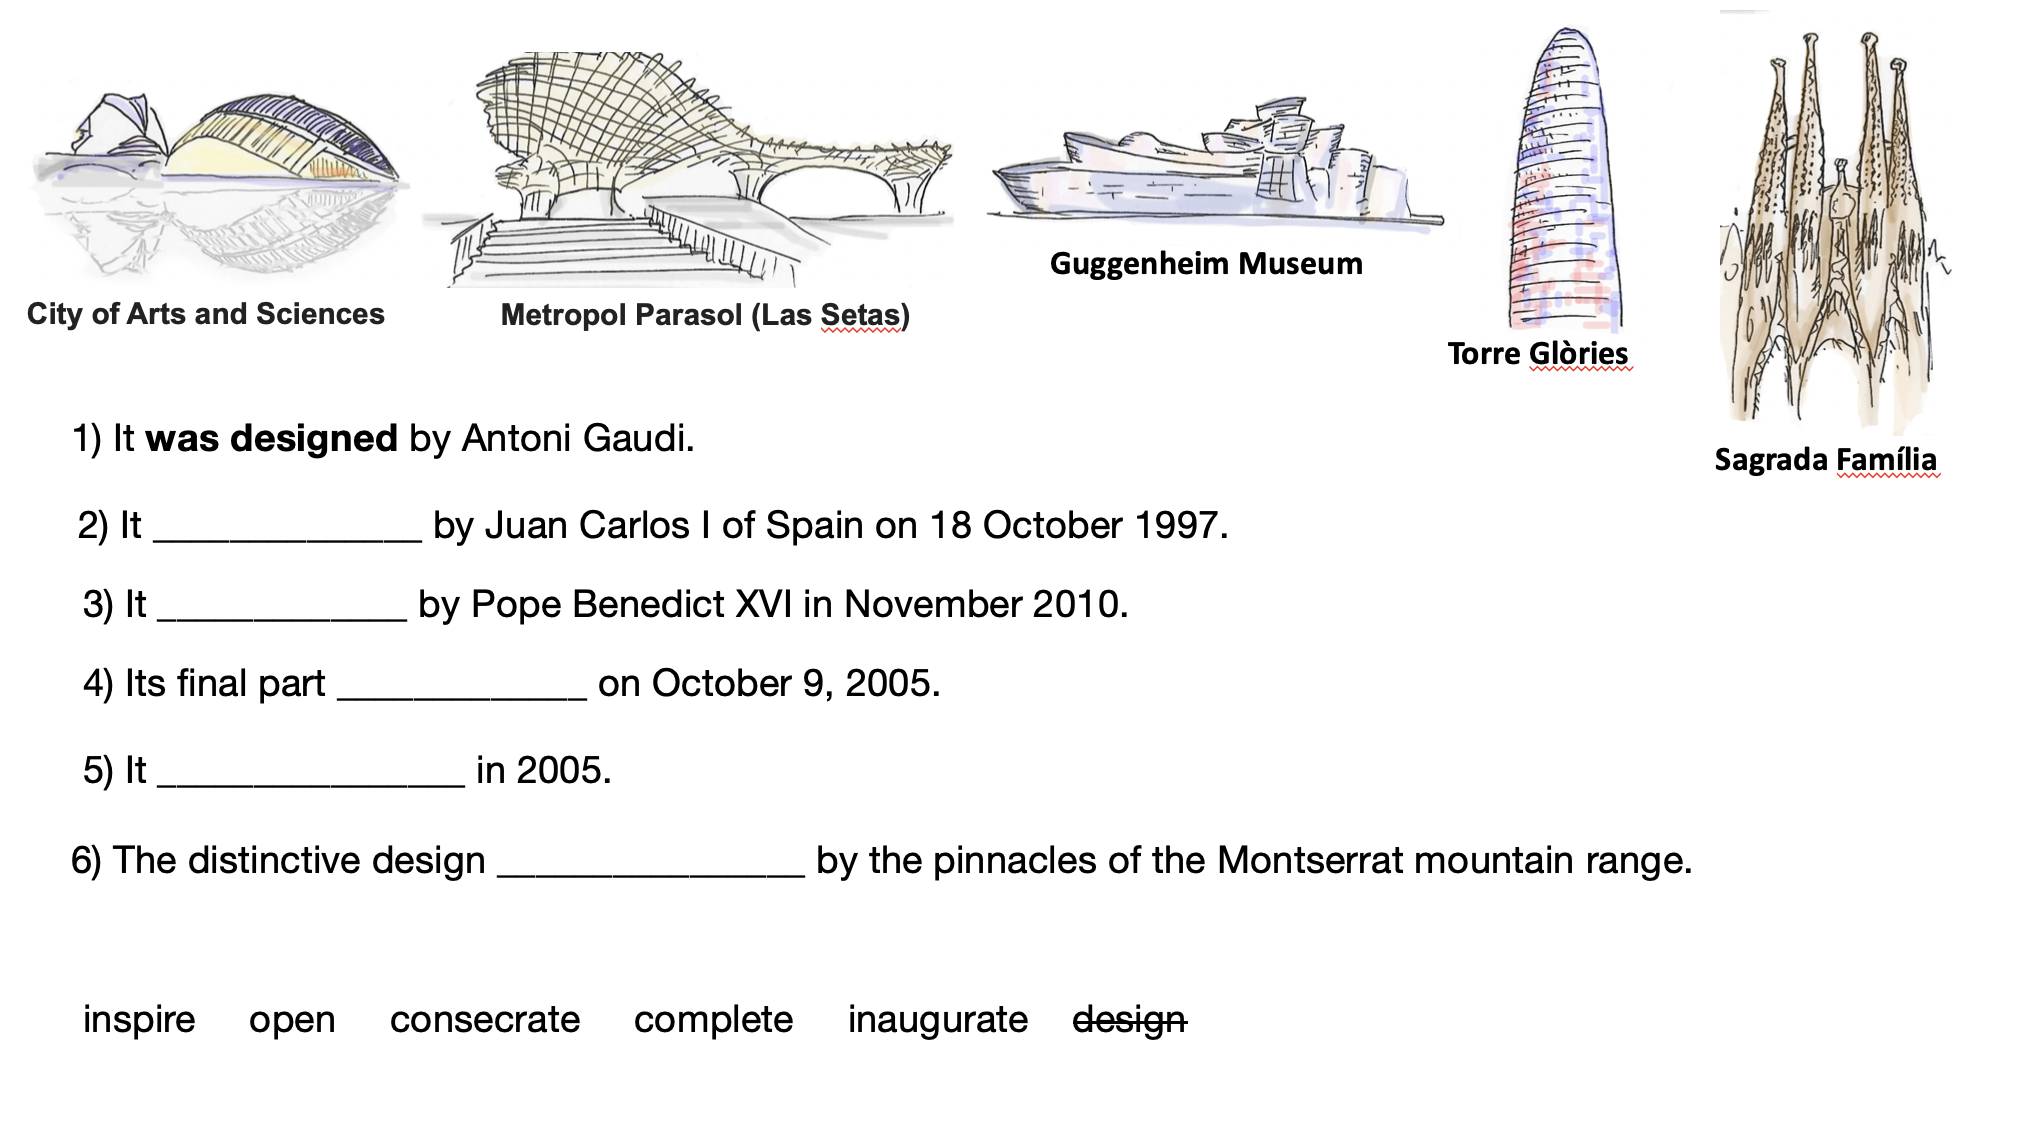
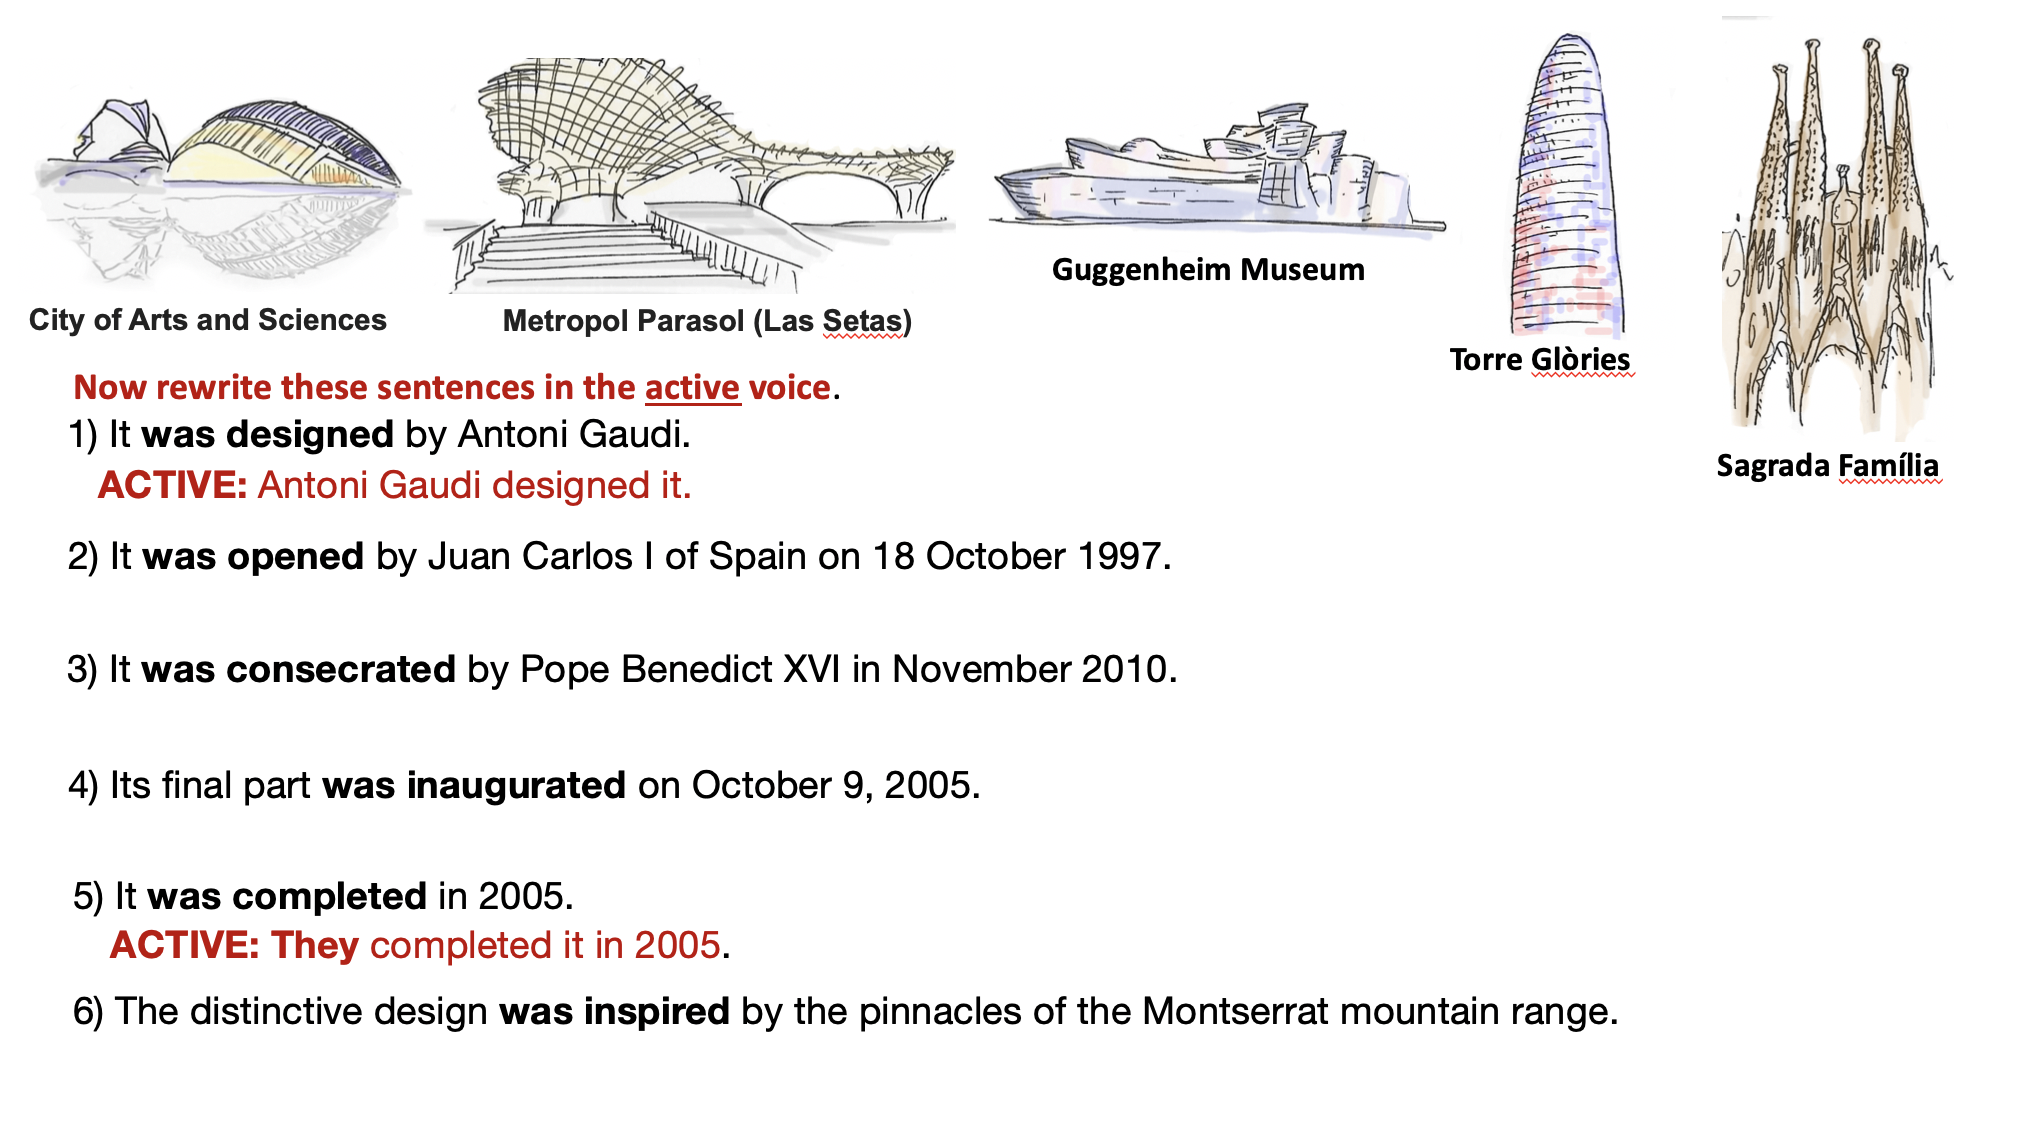
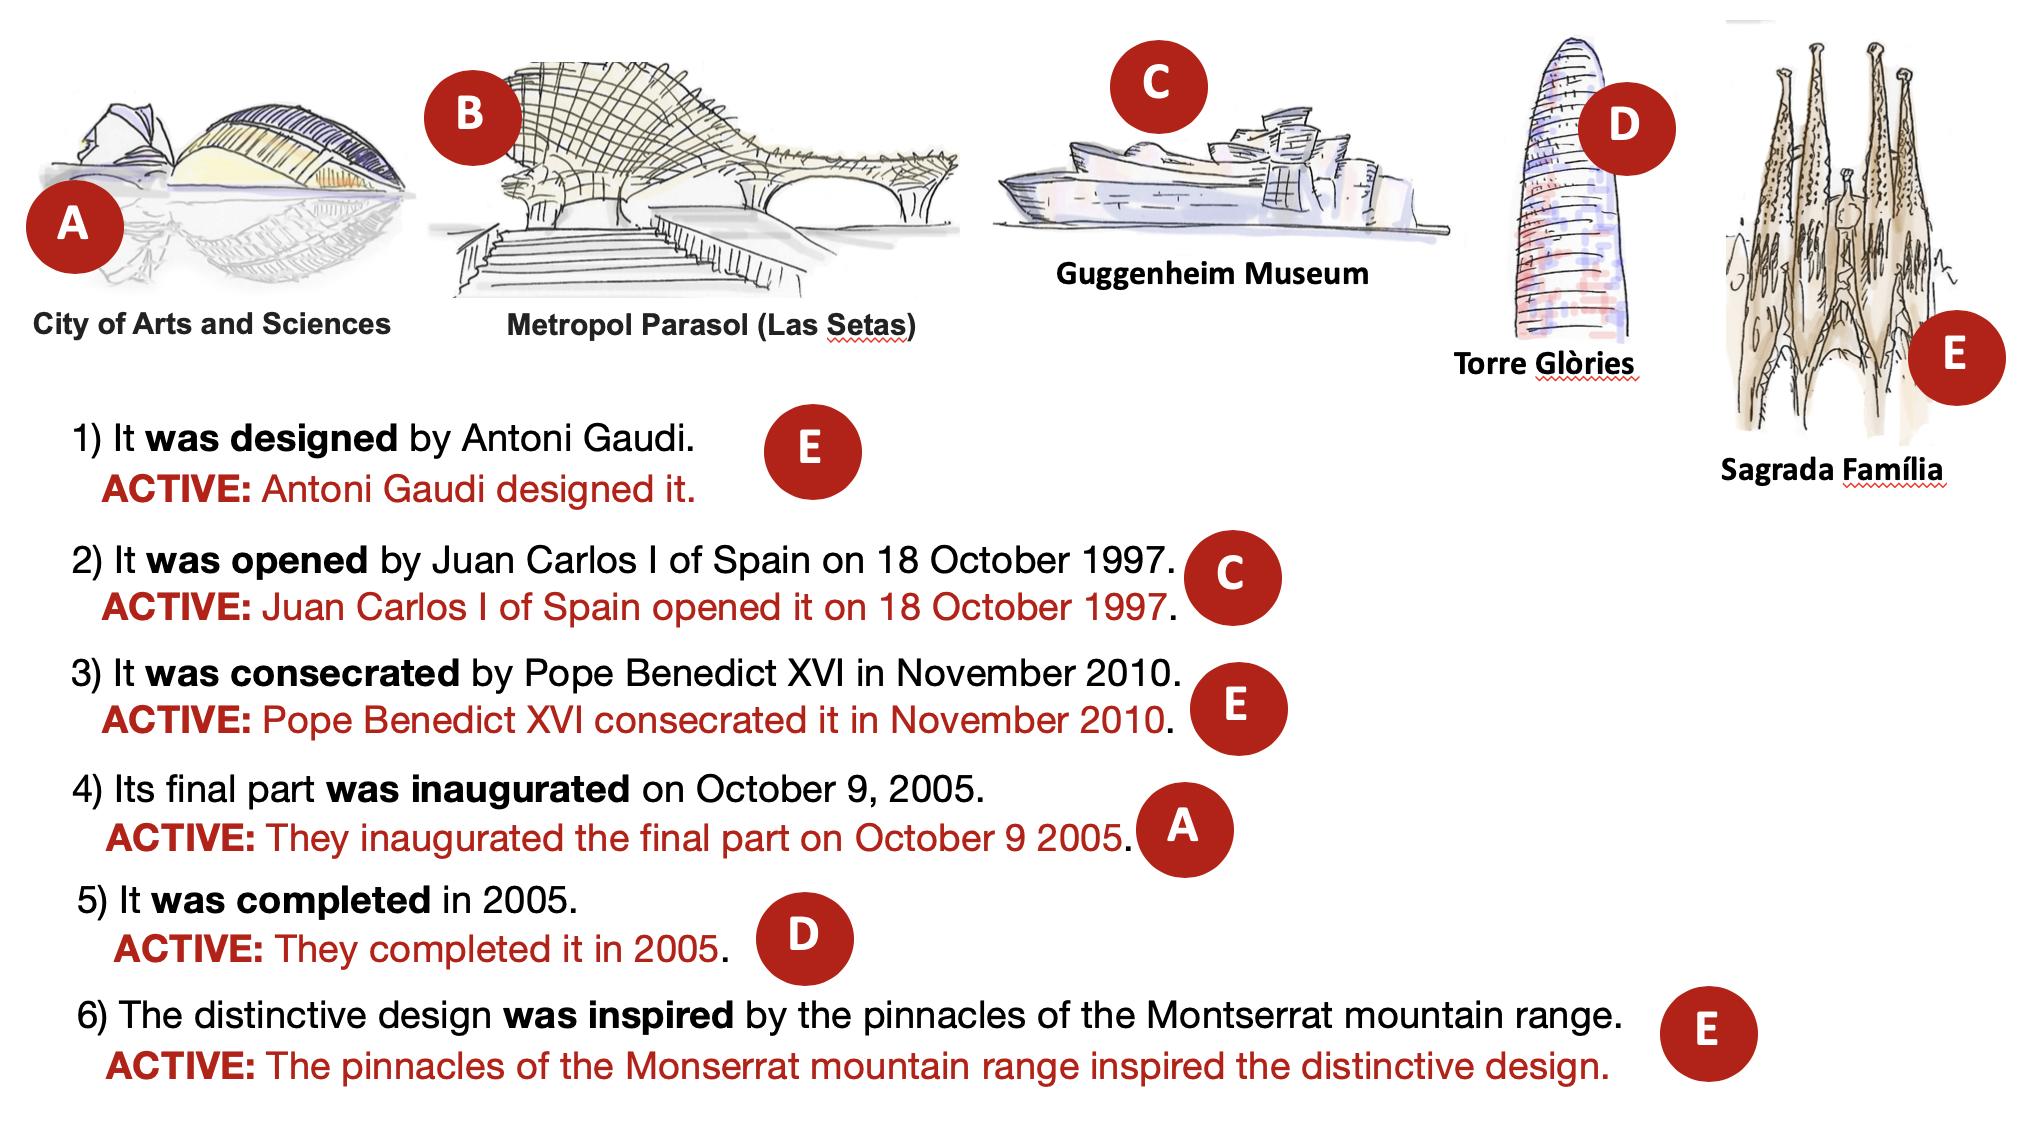
Quick description: As a class, students must first categories adjectives into four columns depending on the number of syllables and ending of each adjective. (As an attention grabber, students are not told what rule governs this categorisation and instead have to work out what’s happening.) When the four column table of adjectives is complete, the appropriate form of more/most and -er/-est is assigned to each column. Finally students practise by comparing fellow classmates.
Sub-aims: revision/strengthening of adjective vocabulary.
Teaching Materials / requirements:
• A white board
• three different coloured whiteboard markers – this plan uses blue, red and black.
• Blutac
DOWNLOAD LINKS: word doc of lesson plan flashcards
Preparation:
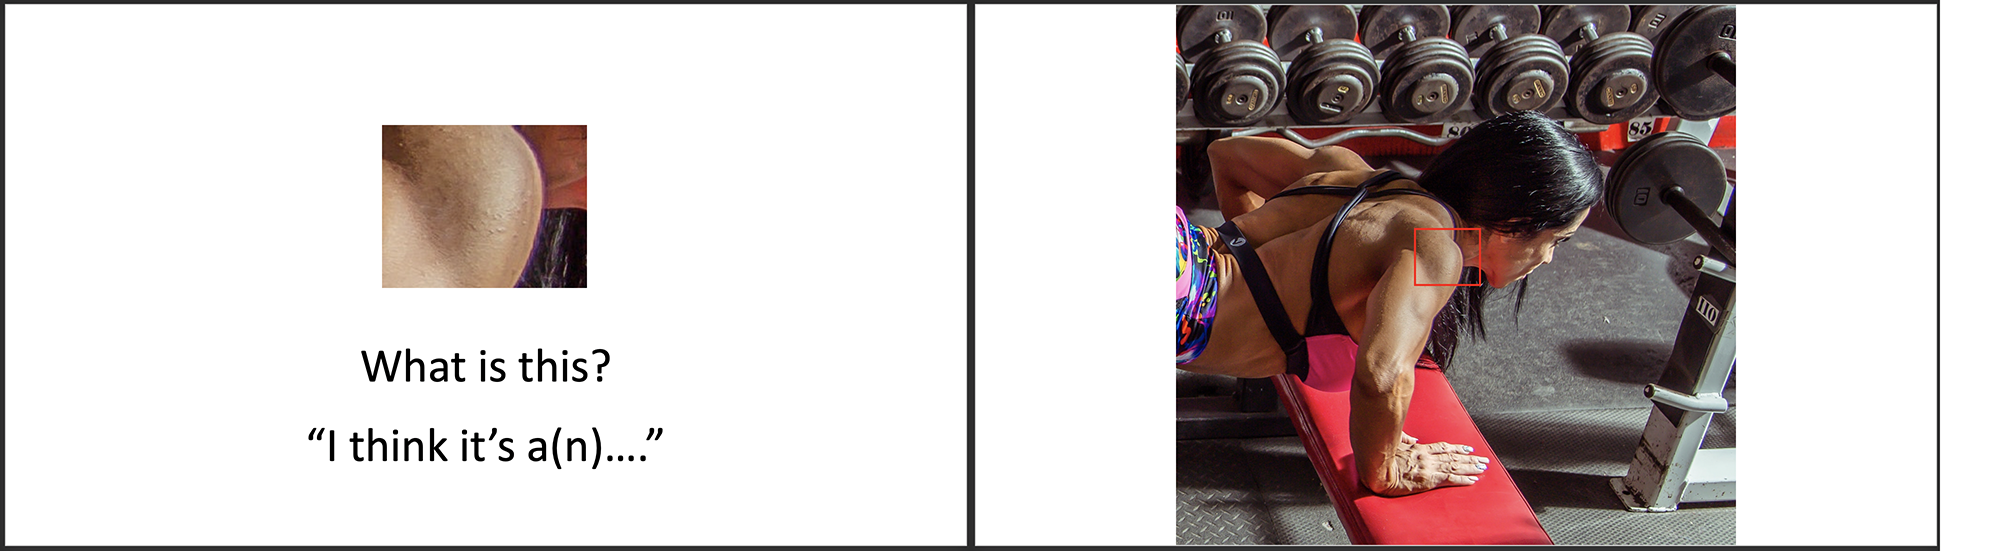
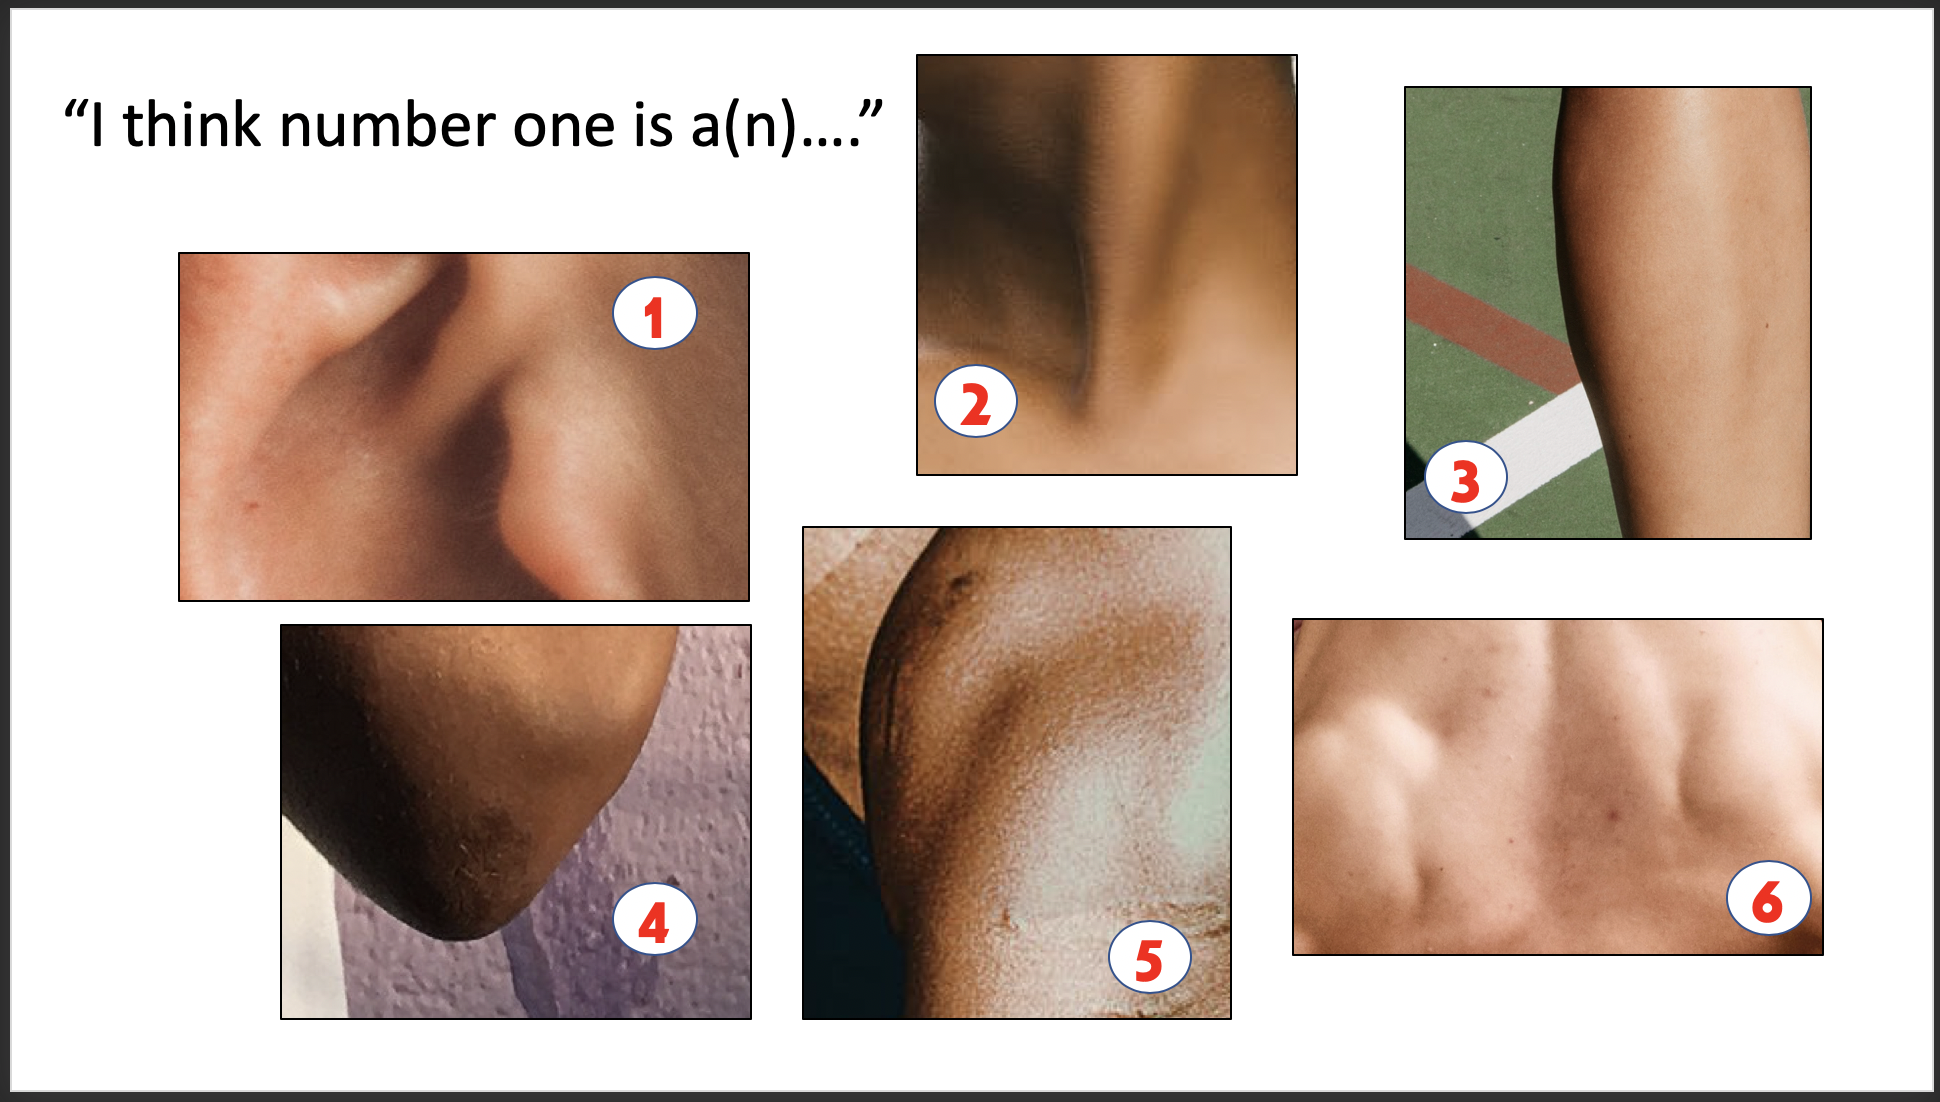
• Print out flashcards of adjectives (I recommend sticking them onto card, or printing straight on to card to make them re-usable.) [WORDS: old, big, strong, sound, cool, hardener, sad, cold, hairy, funny, silly, dirty, smelly, easy, lazy, happy, friendly, clever, nervous, boring, careful, normal, annoying, exciting, dangerous, difficult, expensive, confident, attractive, successful, interesting, complicated, comfortable.]
• Look at flashcard words and think of concept check questions for each (ie ways to confirm students know the meaning of each word).
Assumed knowledge:
A knowledge of comparative and superlative using more/most and -er/-est.
Anticipated problems > solutions:
- Students may not feel comfortable being compared or the activity may open students up to mockery/bullying >Solution > By focusing on positive adjectives this can largely be avoided, but if you feel your class may be unkind, you may choose to google search images of famous people and put them side by side on the board – comparing these instead.
Lesson plan and rationale:
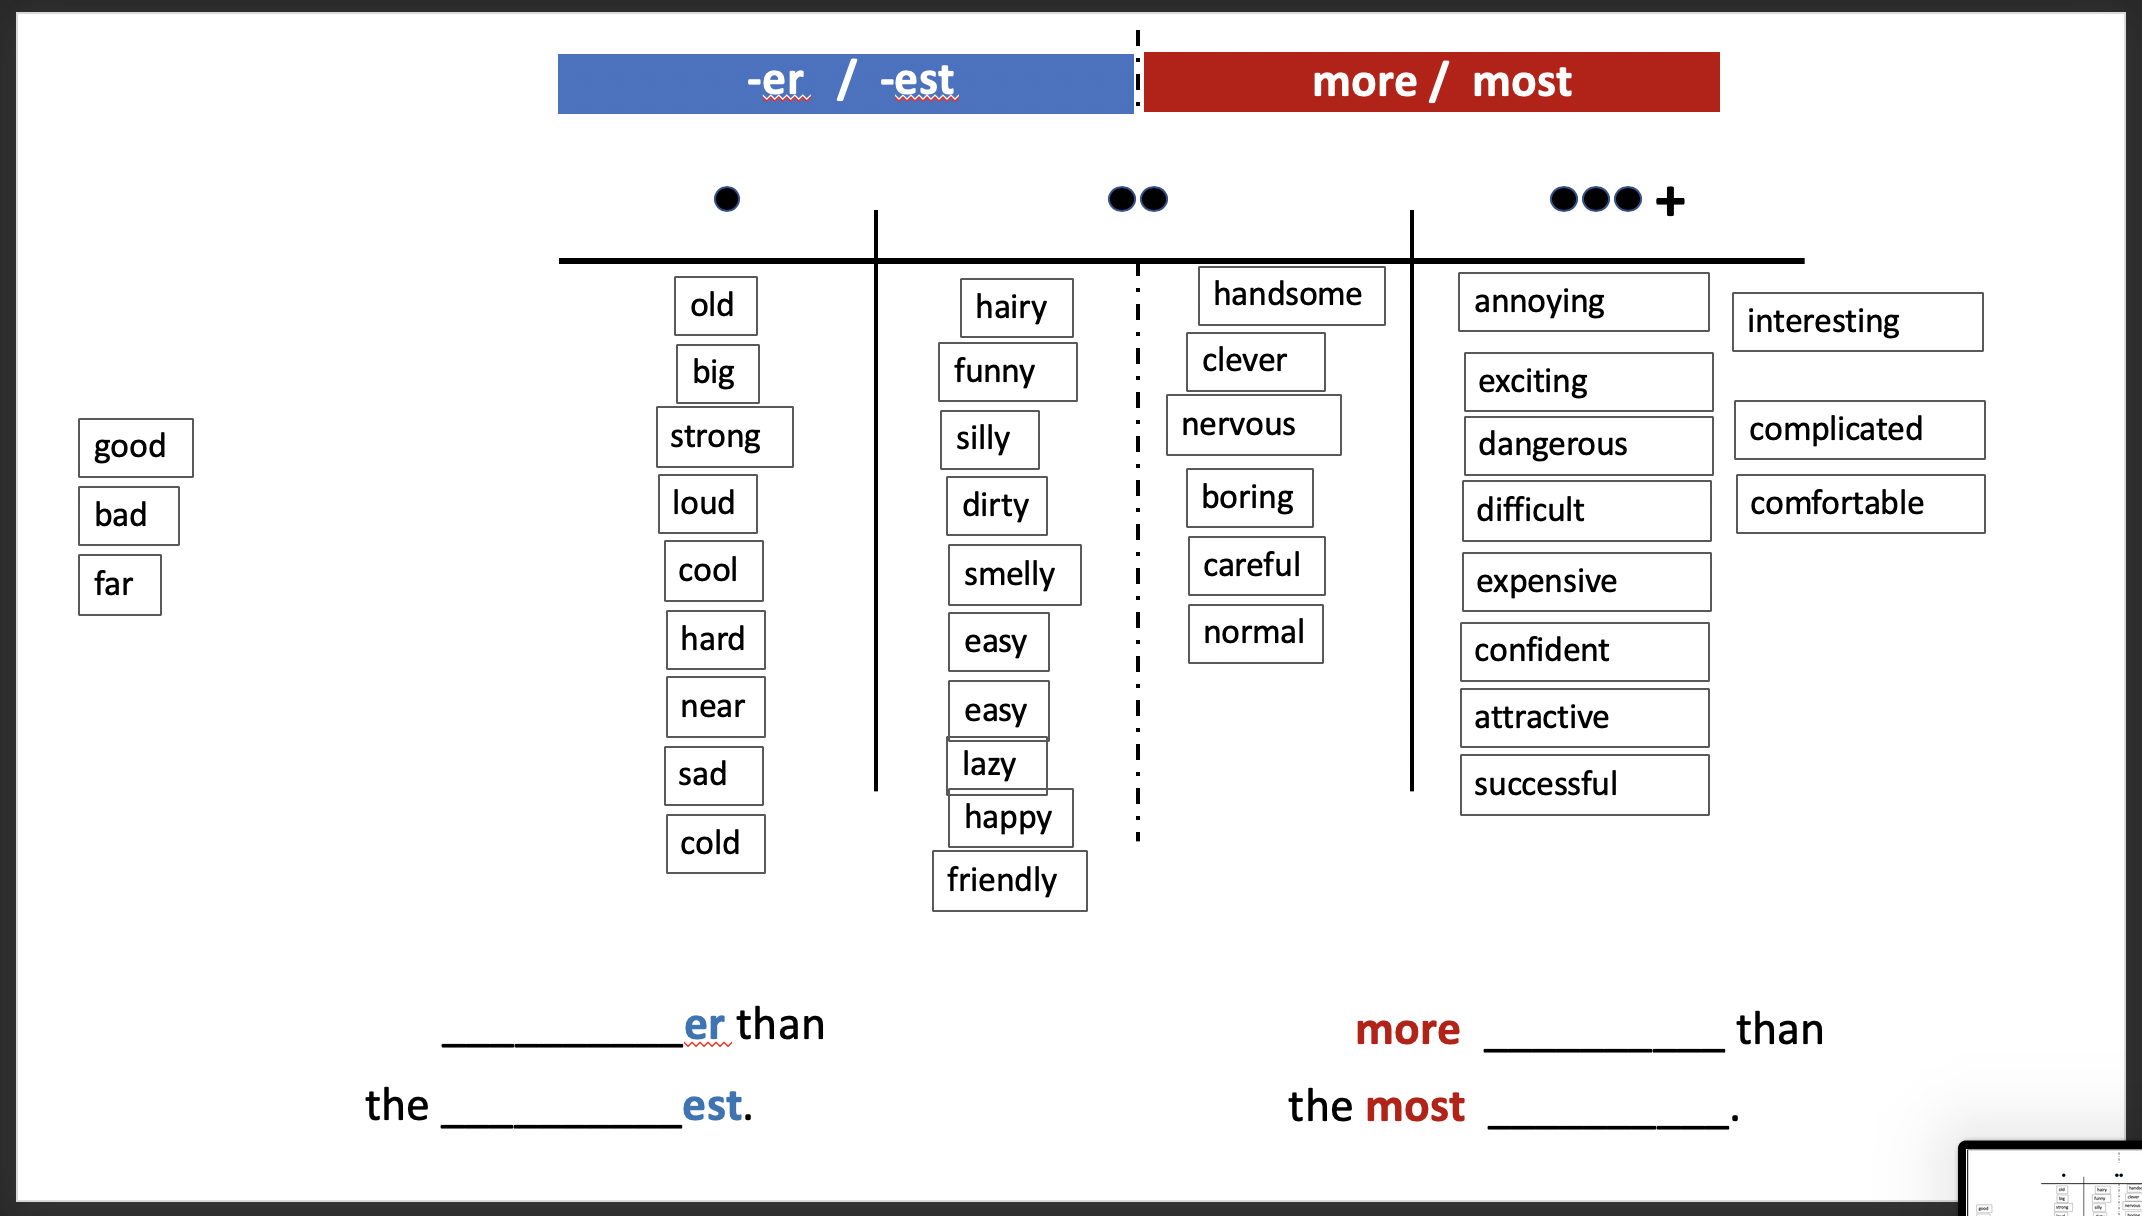
1. Without speaking, draw a blank table as shown below: Draw three columns. Add the dots (representing syllables) above each column. Divide the middle column into two with a dotted line.
Rationale: Instantly grabs attention of the class.
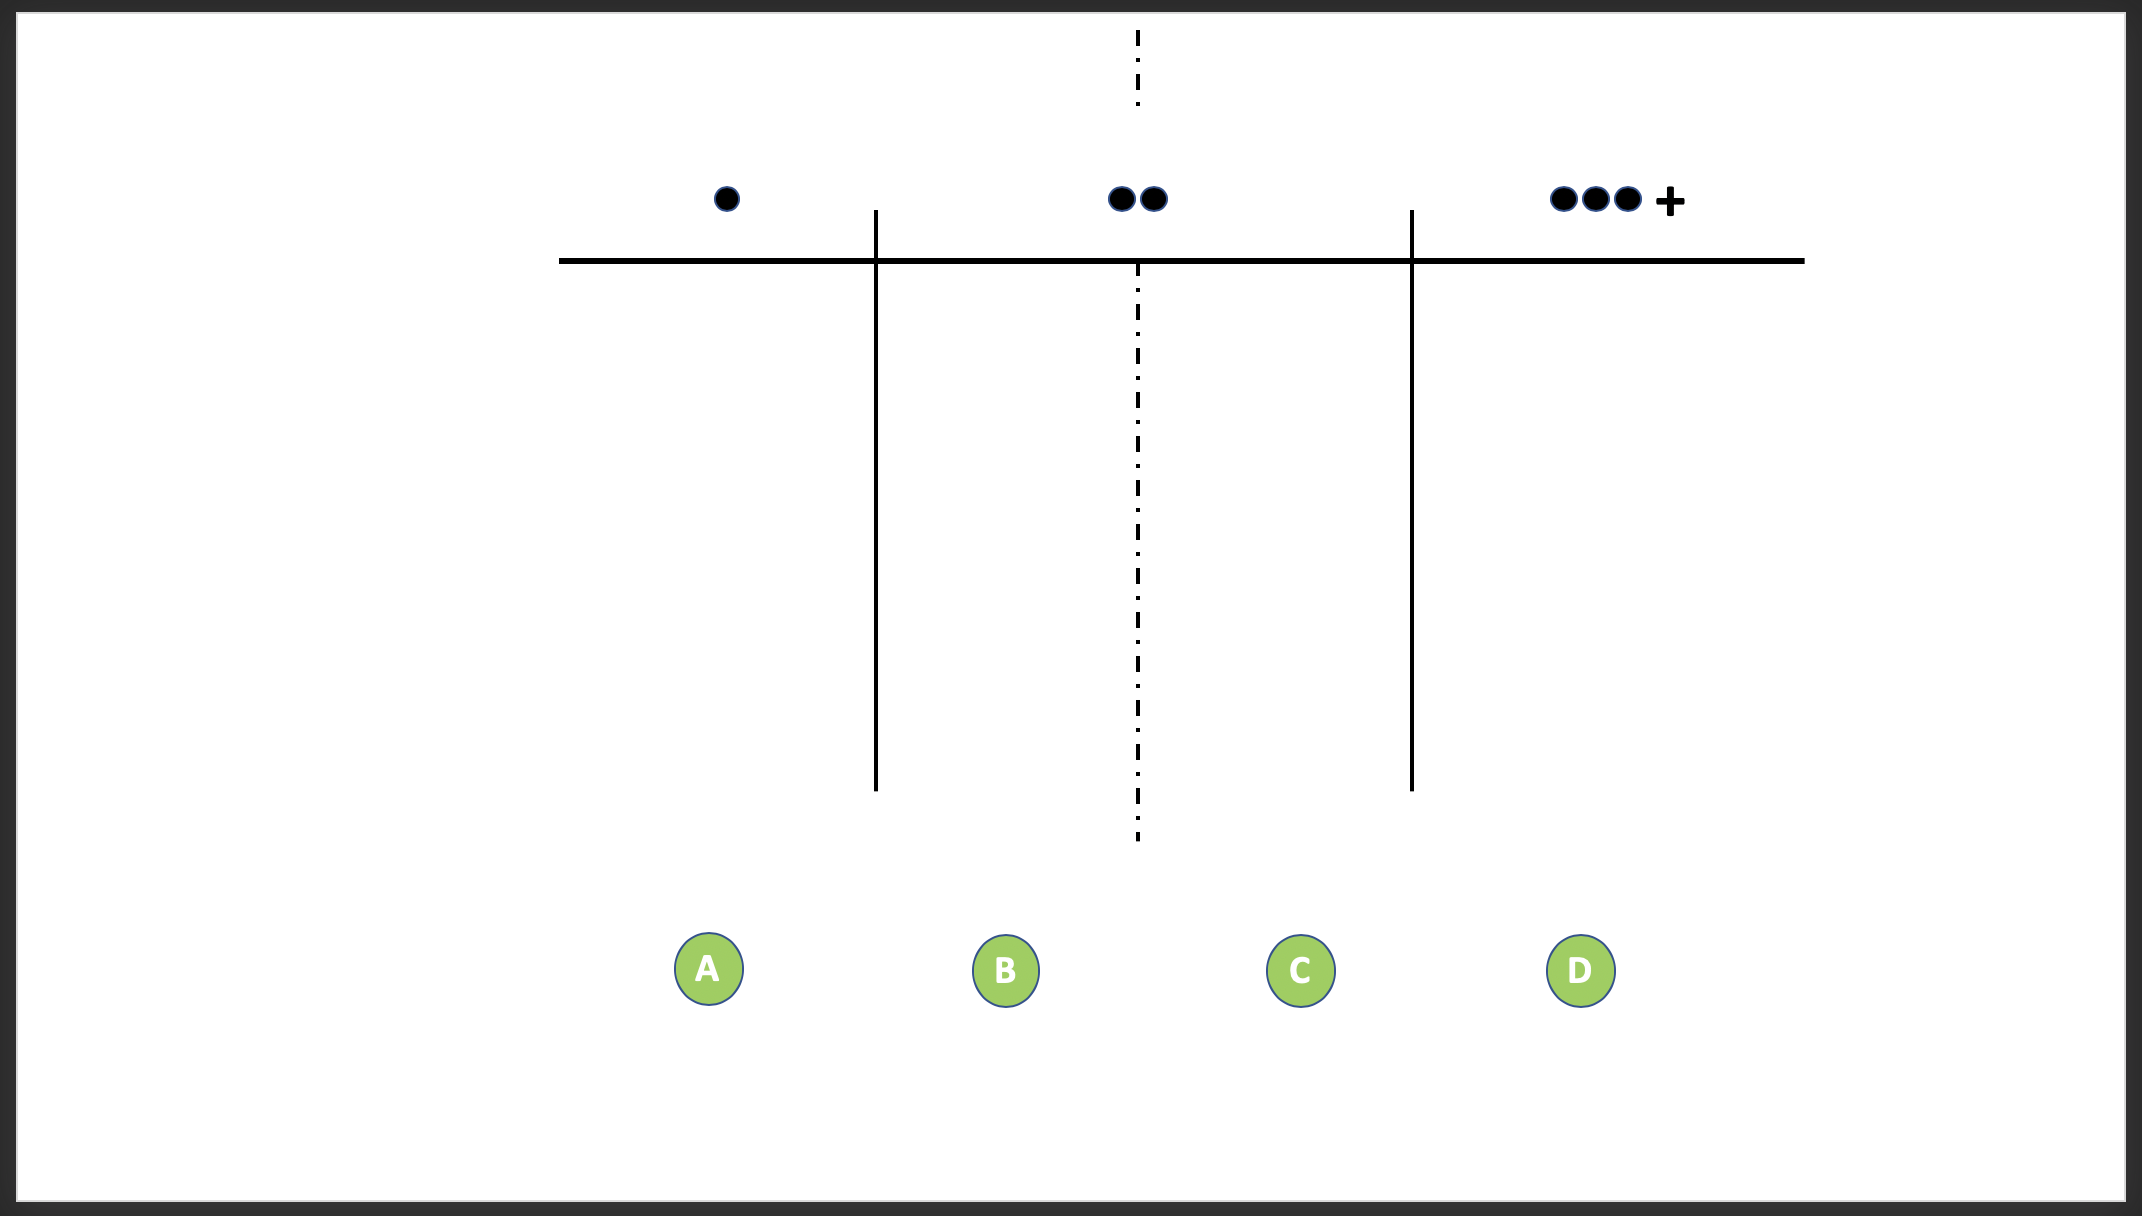
2. One by one, reveal adjective flashcards. Hold up a card, concept check the meaning then ask “which column?” Initially the students will be baffled. Use body language to invite guesses. When you hear the correct column mentioned, blutac the flashcard in place. [Note: you as the teacher know that column A is for one-syllable words, column two for two-syllables words ending in -y, column C is other two-syllable words, column D is thee-syllables and more.]
Rationale: The seemingly random nature of the categorisation really draws in students who try to work out what the rule is without you specifically asking. Whilst this is happening, you have a chance to check students know all the definitions of the adverbs..
3. Continue through all of the cards, gradually giving extra hints about the rule. For example, when the correct column is guessed, repeat the word and tap out the syllables by tapping the dots above the column with a whiteboard pen. Similarly, you can get to a stage where you keep listing the whole of column B before you add a new word (really highlighting the fact they all end in -y). Ensure that the irregulars ‘bad’ ‘good’ and ‘far’ are placed slightly to the left of column A.
Rationale: Students get a kick from working out what’s happing. The better students will eventually explain it to those who are last to understand. .
.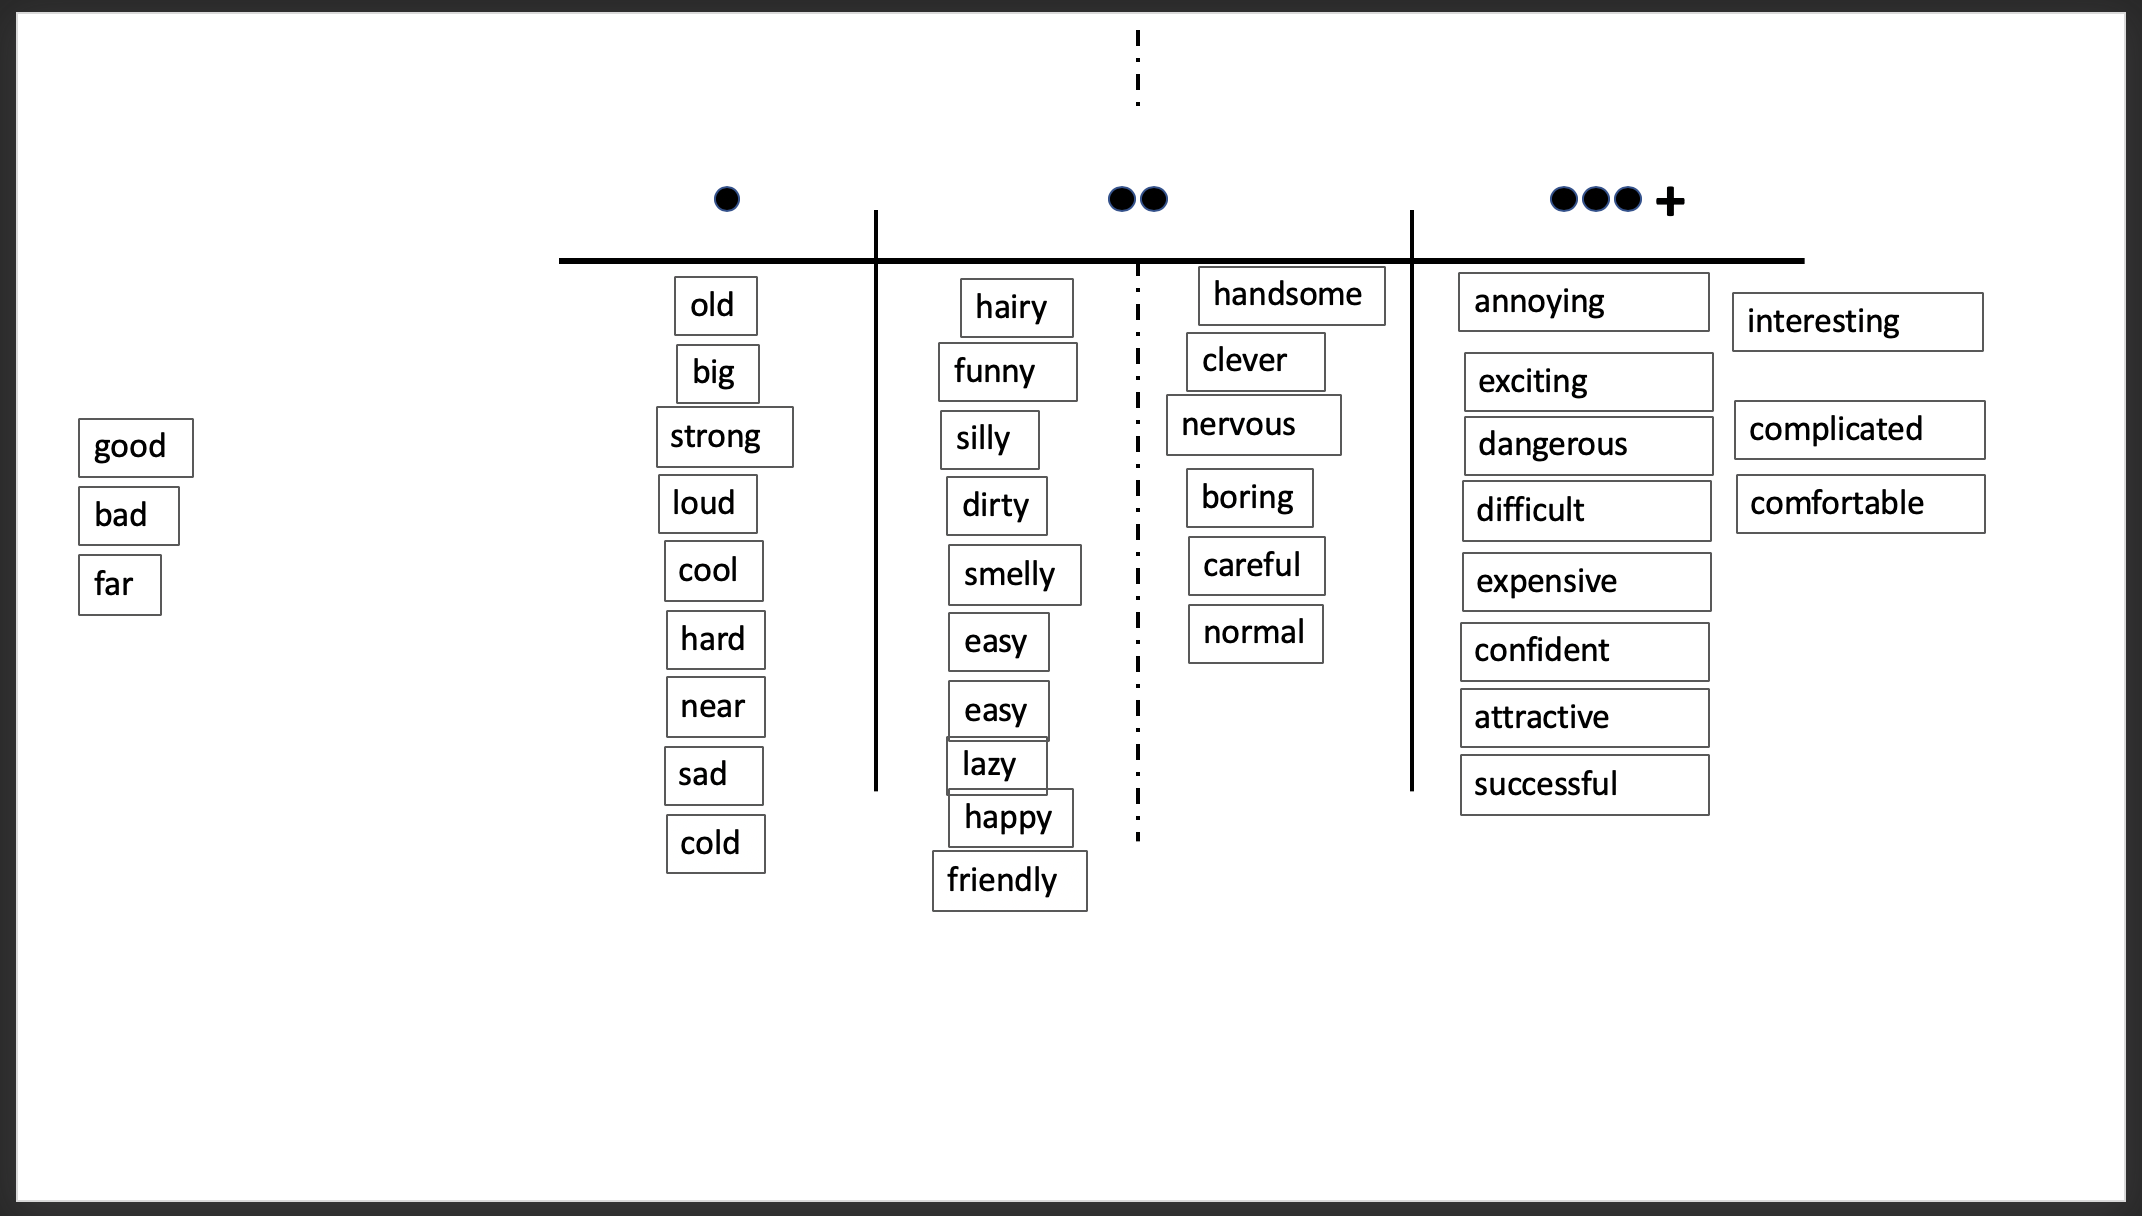
4. When the table is complete, explicitly ask the students the rule for each column. Next add the coloured bars and colour coded sentence structure, as shown below. Use an example like ‘old’ and ask “Which is correct: ‘Pete is older than Jose’ or ‘Pete is more old than Jose’?” Repeat this with the superlative. Then repeat with a 3 syllable adjective. Point to the table each time to reinforce the connection between column A and B (-er/-est) and columns C and D (more/most).
Rationale: Locks the connection between syllables/word ending and correct comparative/superlative structure. .
.
5. Ask for three volunteers to stand up. Then select a word like ‘cool’. Ask the class “who is the coolest?” – mime striking a cool pose if that helps. Elicit full sentences using both cooler and coolest. Continue with other students using a range of words to emphasise things like doubling the consonant (sad – sadder – saddest), and ‘y’ changing to ‘i’ (lazy – lazier – laziest). [NOTE: as an alternative, you can use celebrities to compare instead]
Rationale: Students enjoy dynamic nature of volunteers standing up and moving around a little. Drills the structure.
.
6. If a student hasn’t asked already, this is a good time to bring in the irregulars. Ask why they are separated. Elicit the correct comparative and superlative forms (good/better/best; bad/worse/worst; far/further/furthest). NOTE: you can decide if you want to add the farther/farthest alternatives, or indeed explain the option of old/elder/ eldest.
.
7. If time allows, or students complete the lesson quickly, end the lesson by practising with a Comparative/Superlative Kahoot. For example:
https://create.kahoot.it/details/91d874ad-36e2-4f6b-b3c7-f2bc2ae23faf .
NOTE: this lesson intentionally simplifies comparative/superlative options available for two syllable words. (e.g. words like quiet that can use both -er/-est and more/most forms). It is meant to offer a working rule that will help students avoid jarring errors.